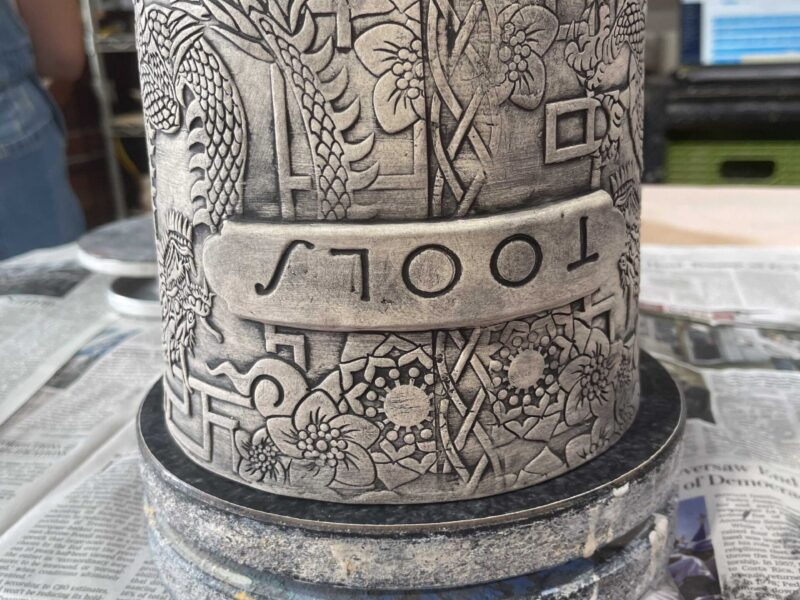
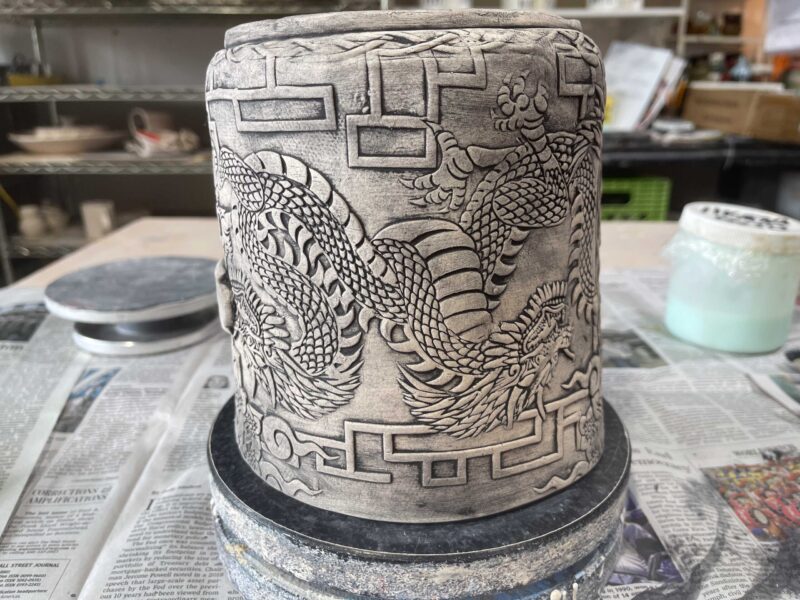
My new tool bucket project made it safely out of bisque and today was glazing day! As always, I start off my glazing process by sanding and washing the bisqueware, then waxing the bottom of the foot ring to help ensure it doesn’t fuse to the kiln shelf while firing. Next, I apply one of Georgies Interactive Pigments and wipe it back to accentuate the texture. In this case, I opted for Indigo because I’m hoping to bring out more blue in the main body glazes.
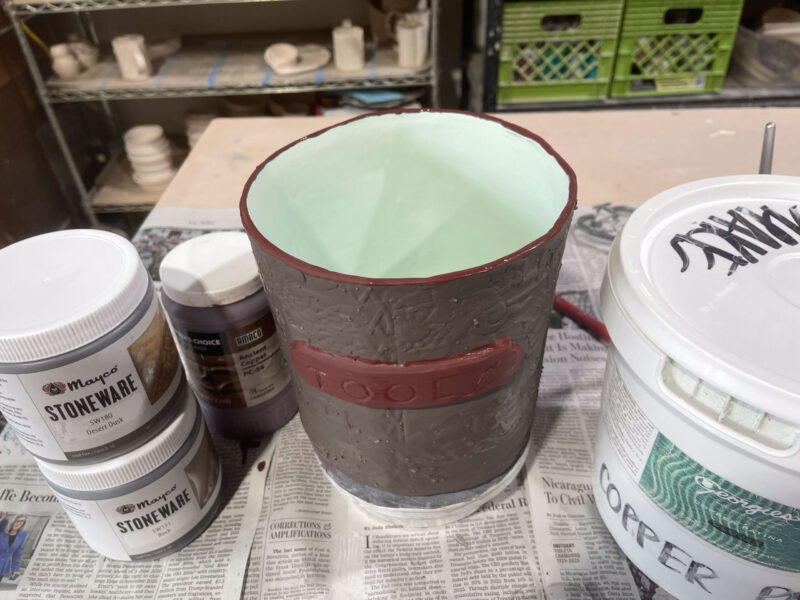
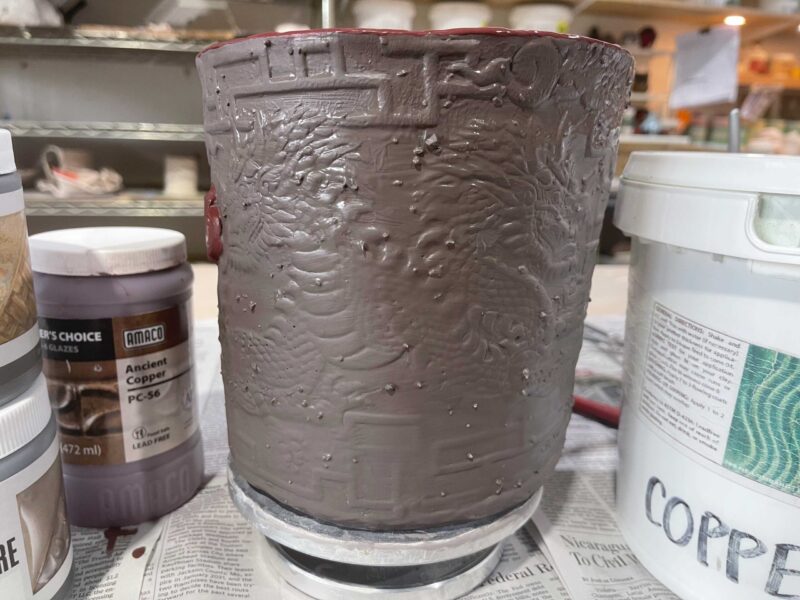
I saw some really interesting photos of pieces glazed using Mayco’s Desert Dusk over their Birch glaze, and I thought it would be interesting to see how that combo worked on this piece, with all of the texture there to provide breaks for the glaze riot. Desert Dusk is a crystalline glaze that when fired in the kiln creates all kinds of interesting blue, gold, and purple color explosions over the Birch base glaze, and as you can see in the photo above, it’s a pretty magical combination. Finally, I decided to accent this color combination with Ancient Copper, which I’m hoping will add a nice, coppery metallic finish over the label and rim.
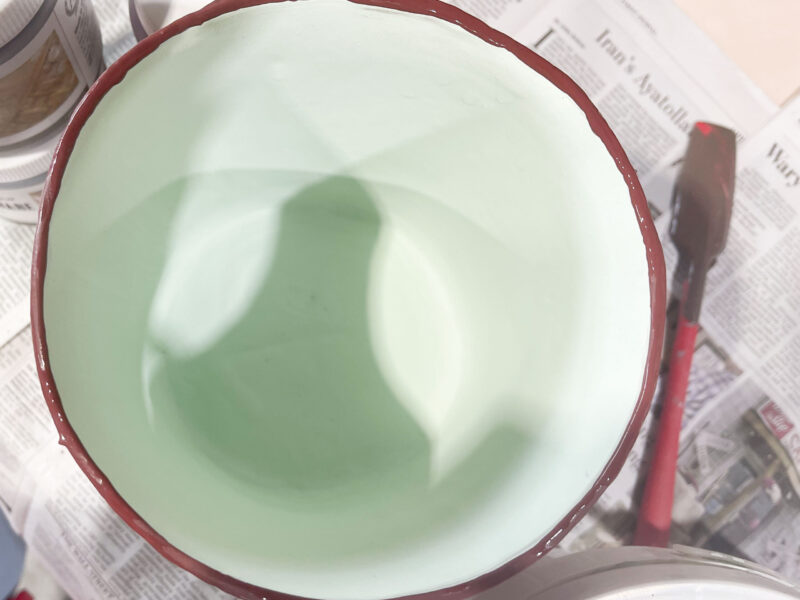
For the inside, I decided to try out Georgies Copper Patina, as I’ve been wanting to try that out for awhile and I think it’s going to be a wonderful complimentary color combo with the Birch/Desert Dusk on the outside.
We’ll know next week. Enjoy the photo gallery and the video below!
 As always, I start my glazing by applying an interactive pigment from Georgies (Indigo here) and then wiping it back. This helps bring out the texture in the finished piece.